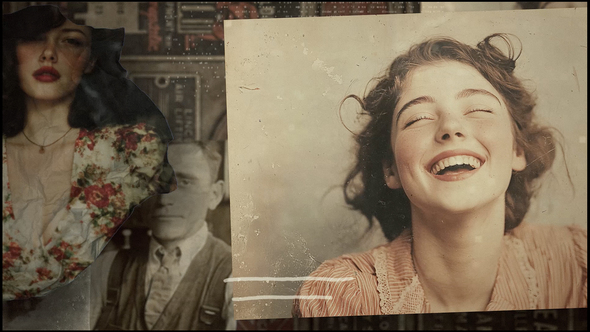

Free Download Vintage Intro. The ‘Vintage Intro’ by mixmedia87 on VideoHive offers a modular structure and quick color changer, simplifying customization in After Effects. No plugins are required, and it includes nine media holders for images or videos. You’ll find a helpful video guide in the download. Perfect for creators looking to add a unique, vintage touch to their projects.
Overview of Vintage Intro
The ‘Vintage Intro’ provides a modular structure with an easy-to-use color changer, allowing seamless customization in After Effects. With no plugin requirements, it supports nine image or video holders, offering flexibility in media choices. Included materials feature an After Effects file and a helpful video guide, ensuring you can start quickly. The audio used can be found at AudioJungle, giving your project a professional sound touch without included media content. Perfect for adding a unique vintage flair to your creations.
Features of Vintage Intro
- Modular Structure: Easily customize your project with a flexible layout, making it fit perfectly into any design.
- Quick Color Changer: Adjust colors swiftly to match your brand or theme without hassle.
- No Plugins Required: Simplify your workflow in After Effects with this straightforward setup.
- Nine Media Holders: Insert images or videos to create engaging content tailored to your needs.
- Video Support: Includes a detailed help file to guide you through the setup and editing process.
- After Effects File: Seamless integration with After Effects ensures a smooth editing experience.
- Audio Reference: Use the recommended audio for a cohesive and professional finish.
How to use Vintage Intro
1. Open After Effects and import the Vintage Intro template file.
2. In the project panel, locate the placeholder compositions for images or videos.
3. Double-click a placeholder to open it, then import your media by dragging images or videos into the timeline.
4. Use the quick color changer to adjust colors. You’ll find this option within the template controls panel, allowing for swift customization.
5. Review the overall composition for any adjustments. You can modify the timing and transitions to suit your preference.
6. Utilize the provided video help file if you encounter any issues or need further guidance on specific steps.
7. Once satisfied, export your final video by navigating to the ‘File’ menu, then selecting ‘Export’ and choosing your desired format.
8. Remember, the audio used in the example is available at AudioJungle if you wish to include similar sound in your project.
💬 Comments
0 commentsNo comments yet. Be the first to comment!
You must log in to comment.