


Free Download Social Media Liquid Glass Toolkit. Create sleek, “liquid-glass” overlays for social media with this toolkit designed by YETYYY on VideoHive. It features animated titles, social icons, and UI elements that are cleanly animated and customizable. No plugins are needed. You can easily adjust text, size, and colors within seconds. Compatible with After Effects CC2023 and above, it’s perfect for Stories, Reels, and more. A video tutorial is included to guide you through two editing workflows.
Overview of Social Media Liquid Glass Toolkit
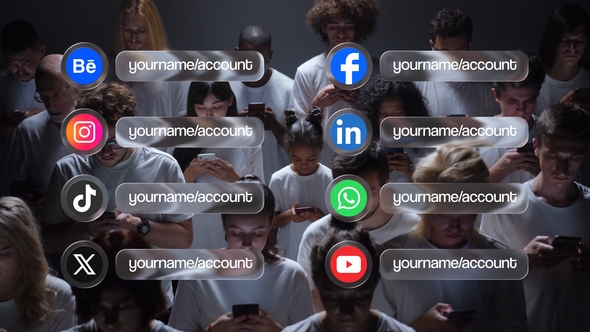
The Social Media Liquid Glass Toolkit provides sleek, “liquid-glass” overlays, perfect for enhancing your social media content. It includes animated titles, social icons, and UI elements, all cleanly animated and easy to customize without needing plugins. With compatibility for After Effects CC2023 and above, you can quickly adjust text, size, position, and colors. Ideal for Stories, Reels, and Shorts, this toolkit supports multiple formats like 16:9 UHD and 9:16 FHD. A detailed video tutorial guides you through two editing workflows, making it accessible for creators at any skill level.
Features of Social Media Liquid Glass Toolkit
- Create sleek, “liquid-glass” overlays perfect for any feed or story.
- Includes 12 animated titles, 8 social media icons, and 10 essential UI elements.
- No plugins required; works seamlessly with After Effects CC2023 and above.
- Formats available: 3840×2160 (16:9 UHD), 1920×1080 (16:9 FHD), 2160×3840 (9:16 UHD), 1080×1920 (9:16 FHD).
- Polished liquid-glass aesthetic with refined motion.
- Fast editing options: change text, size, position, and colors in seconds.
- Resizable text boxes for easy customization.
- Perfect for creating Stories, Reels, Shorts, covers, openers, and callouts.
- Detailed video tutorial included, covering two After Effects editing workflows.
How to use Social Media Liquid Glass Toolkit
1. Open After Effects and create a new project.
2. Import the Social Media Liquid Glass Toolkit file into your project panel.
3. Drag the desired template composition into your timeline.
4. Select the composition and double-click to open it.
5. Use the text tool to edit titles by clicking the text layers. Change the text, size, and position as needed.
6. Customize the colors using the Effects Control Panel. Adjust hues to fit your brand.
7. Open the UI elements or icons composition if needed. Edit or replace icon designs within the layers.
8. Resize text boxes as required by dragging the corners of the box.
9. Preview your edits by pressing the spacebar. Make further adjustments if necessary.
10. Render your final composition by adding it to the render queue. Choose your desired output format and settings, then click render.
💬 Comments
0 commentsNo comments yet. Be the first to comment!
You must log in to comment.